Sunday, November 6, 2011

Edamame Hummus

This is a new creation for me. Not my idea originally but I put my own spin on it. The regular chickpea hummus is getting kind of old so lets try to hummus other things. I think there is some white bean hummus out there somewhere. This edamame hummus it a tasty alternative, and it is such a vibrant bright green it is really beautiful in the bowl, although my photos don't do it justice.
Ingredients:
•28 ounces of edamame (in pod)
• 1/2 (aprox) tahini paste
• 1/3 (aprox) cup water (more or less depending on the constancy you want
• 3 to 4 cloves of garlic
• the juice on 1 lemon
• salt and pepper to taste
Directions:
Boil the edamame as stated on the package instructions, it is usually about six minutes or so.
here they are boiled and ready to be shucked

Next shuck the beans, there are pre-schucked beans out there but they are more expensive so I take the time and do it myself, plus they are great for the composter!

finally done shucking!
Next put the beans in a food processer, you could use a blender here but trust me a food processer works much better.
here they are in the food processer
when the beans looks pretty corse add the garlic and tahini mix well, add the lemon juice, mix again. After this set of mixing you can add the water, if you add to much your dip will be runny not enough it will be very thick, I found 1/3 cup gave me the desired results.
I was going for a thicker constancy
Next add salt and pepper to taste. I find it best to let the dip rest for at least an hour, but will stay fresh when in an air tight container in the fridge for up to 5 days!
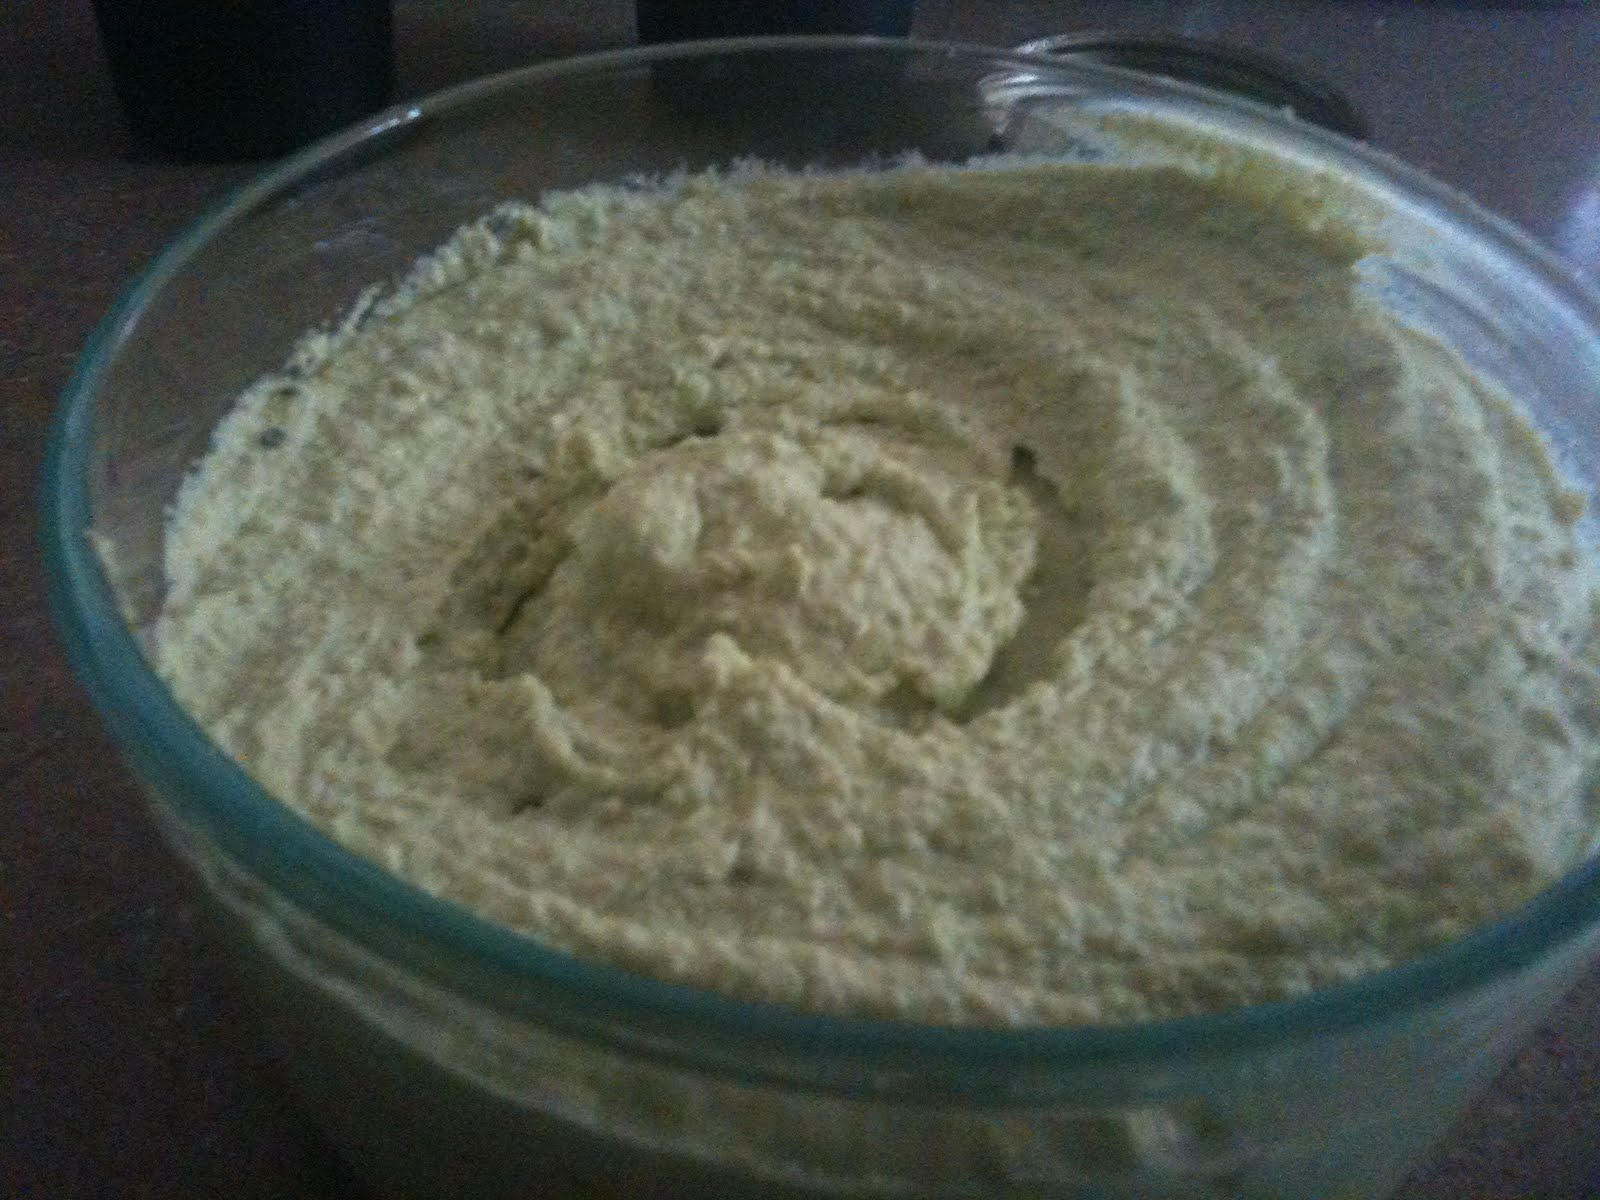
Here it is ready to go to the fridge! I really enjoy pita chips with it!
Yum and done!


Thursday, November 3, 2011

Halloween 2011

We had our annual halloween party this past weekend. And we made a lot of food here is a rundown along with some pictures!

Various hand made chocolates, from chocolate covered pretzels to dioramas, even a white chocolate skull.
A peanut butter filled chocolate rat!
Bone shaped sugar cookies
edamame hummus (like regular hummus but made with edamame instead)
Dates, nuts and apples
French onion dip with a kick
Spinach artichoke dip
Cheese coins
A very strong tiki punch
and finally a skull cake!
the rat!
one of the chocolate dioramas
the sugar cookies with the white chocolate skull


the punch is back there, and it is strong!

the other side of the table

a wider shot of the table


straight on shot of the table

hey save that for the guests!

a couple closer shots of the cake!


Monday, October 31, 2011

Spooky Cake!

We had our anual Halloween party this year. And I taught my husband how to work with fondant. He has done a bunch of sculture and painting so he was a total natural! I wanted to post pictures of his first cake. I made the cakes and advised on sculpting technique! The base cake was vanilla and the skull/zombie was pumpkin walnut! And there is a thin layer of buttercream under the fondant!
base cake covered and getting trimmed.
The hair is always hard!
The finished results before they were on the serving dish!


Monday, October 17, 2011

Cupcakes anyone?

Who doesn't love cupcakes? These little vegan beauties are based off two recipes from Vegan Cupcakes Take Over The World, by Isa Chandra Moskowitz and Terry Hope Romero. Which is a super fun cupcake book for any vegan baker. They both have a basic butter cream frosting, made with vegan butter.

The Green topped ones are Pistachio Rosewater; for the butter cream I put a slight flavor of almond in it, it was a nice counterpoint to the rosewater. They are also topped with chopped pistachios.

The chocolate ones are the basic chocolate recipe from the book but I added two teaspoons of orange extract, a tablespoon of orange juice, and about a tablespoon of orange zest. So they went from plain chocolate to chocolate orange! The topping for this is again vegan butter cream, with vanilla extract added, which was a great counterpoint to the orange. Then topped with some sprinkles.
The cupcake tower is by Wilton and is most likely pretty available in most craft stores. It is pretty fun to make these tasty treats go vertical and they are very easy to take off the tower as well.

Yum and done!

Tuesday, October 11, 2011

Oatmeal Peanut Butter Chocolate Bars

I have said it before I will say it again, I love peanut butter! So for my a dessert of peanut butter and chocolate is great. This is quick and easy and the oats are a good binder. Some people like to use confectioners sugar but I didn't want the extra sugar. Plus I think the taste of the peanut butter and the dark chocolate is wonderful, no reason to sweeten it up even more.
Ingredients:
• 2 cups peanut butter (choose your favorite but I like a chunky for extra texture)
• 2 cups rolled oats
• 2 cups dark chocolate chips or chunks
Directons
Mix the peanut butter and oats together well.

mixed pretty well but I gave it one more pass
In a double boiler melt chocolate. As that is melting down take an 8 by 8 or 9 by 9 pan ( 8x8 will give you a bit of a thicker bar) and spread the peanut butter oat mixture evenly. When chocolate is melted pour and even out over the mixture.
pretty even if you ask me

chocolate spread, and now all over my phone
Let the chocolate temper do not put in the fridge until very set. When chocolate is set you can put in the fridge if you want a cold treat! Enjoy!

Yum and done!

Tuesday, October 4, 2011

Ratatouille

The inspiration for this ratatouille came from Food & Wine October 2011. The original recipe was put together by Melissa Clark arthor of Cook It Now. What I found most fascinating about her recipe is that she cooks the ingredients in smaller batches to cook faster thus not spending a ton of time doing a traditional ratatouille which can be hours. This in contrast with prep time took about an hour. It can be made in advance and heated up and will keep in the fridge, the directions below are for four servings. To keep it vegan hold the goat cheese! And with any stew you need some nice toasted bread to go along with it, and it helps if that bread is garlic!
Ingredients:
• 1 medium eggplant peeled and diced
• 1 small yellow squash
• 1 small zucchini
• 1 medium onion diced medium fine
• 10 to 12 ounces cherry tomatos cut in half
• 1 pound canned or stewed tomatoes (mine were canned from the garden)
• 1/2 cup basil chopped and loosely packed
• 1/3 cup olive oil
• 5 cloves garlic minced
• about 1/2 cup olive oil
• salt and pepper to taste
Directions:
Put about 1/4 cup olive oil in a dutch oven and heat until shimmering over medium heat. Add the diced and peeled eggplant cook stirring regularly for five minutes add two cloves of minced garlic and cook another five minutes, adding a bit of salt and pepper. Remember eggplant loves salt so don't add to much.
some of my ingredients waiting
eggplant starting to cook down
Next let the eggplant rest in a bowl, I would suggest pulling it out with a slotted spoon to keep any olive oil in the dutch oven. Add a a bit more olive oil to the same pot and next add the onions, after the onions have cooked to be translucent add the squash and zucchini.
Squash and zucchini just added
After about five minutes still over medium heat add the cherry tomatoes and two more cloves or garlic and half the basil.
Just added
Let the tomatos cook until the are releasing a lot of juice and then added the stewed tomatoes.
More tomatos added
Add the last clove of garlic and cook on low heat for at least 20 minutes then add the rest of the fresh basil cook for another five minutes. Plate and enjoy, seen below with goat cheese and garlic bread!

Yum and done!


Tuesday, September 27, 2011

Grilled Asparagus

I know fall just started but I miss summer already. This tasty little treat is a quick summer favorite in our house. But if you can find good asparagus and a warm fall day fit for grilling you can keep the dream of summer alive! The most important part of this recipe is to blanch the asparagus before you try to grill it.
Ingredients:
• 12 to 14 ounces of asparagus (this was meant for two people as a main side, if you have others you can feed more people from it)
• 1 tbsp olive oil
• salt and pepper to taste
Directions:
Set water to boil and prep and wash asparagus. I like to cut most stalks in half.
asparagus waiting

When water is boiling place asparagus in it for one minute only. We are not cooking it fully we are just blanching it, the grill will do most of the work!
blanched and ready for the grill

Next lightly add the olive oil and grind some salt and pepper remember you can always add more later! Place on the grill.
grilling away!

It will take about 10 minutes to cook depending on your grill temperature. The best thing you can do is taste test!
Here it is with grilled corn and veggie ribs!
Yum and done!