Wednesday, November 30, 2011

Seitan Burgers and Homemade Buns

I have been experimenting with different ways to make and prepare seitan. It is the protein portion of wheat and is used in many vegetarian and vegan recipes for a meat substitute. We recently got a grinder for our Kitchenaid and what better thing to grind than some seitan! For this meal I also made burger buns. The recipe for those is below. I think I want to modify it further to get a more true to form bun. But they were tasty!

Ingredients
  • 1 cup unflavored soy milk
  • 1/2 cup water
  • 1/4 cup butter
  • 4 1/2 cups flour half all-purpose half wheat
  • 1 tbsp instant yeast
  • 2 tablespoons sugar
  • 1 1/2 teaspoons salt
  • 1 egg or egg replacer equivalent

Directions

In a small saucepan, heat milk, water and butter until very warm. When that is warming up in a large bowl, mix together 1 3/4 cup flour, yeast, sugar and salt. Mix milk mixture into flour mixture, and then mix in egg replacer. Stir in the remaining flour, 1/2 cup at a time, beating well after each addition. When the dough has pulled together, turn it out onto a lightly floured surface, and knead until smooth and elastic, about 8 minutes or about 4 to 5 minutes with the Kitchenaid kneading attachment.

There they are just placed on the baking sheet

Then divide dough into 12 equal pieces. Shape into smooth balls, and place on a greased baking sheet. Flatten slightly. Cover, and let rise for 35 minutes.

After the rising process


Bake at 400 degrees F for 10 to 12 minutes, or until golden brown.

Here they are pulled apart and waiting to be used!

For the seitan: it was ground with the attachement and then shaped into burger forms. The seitan was naturally a bit sticky so I did not use anything to bind it. Then over medium high heat on a cast iron skillet they were cooked for about 6 minutes or until golden brown.
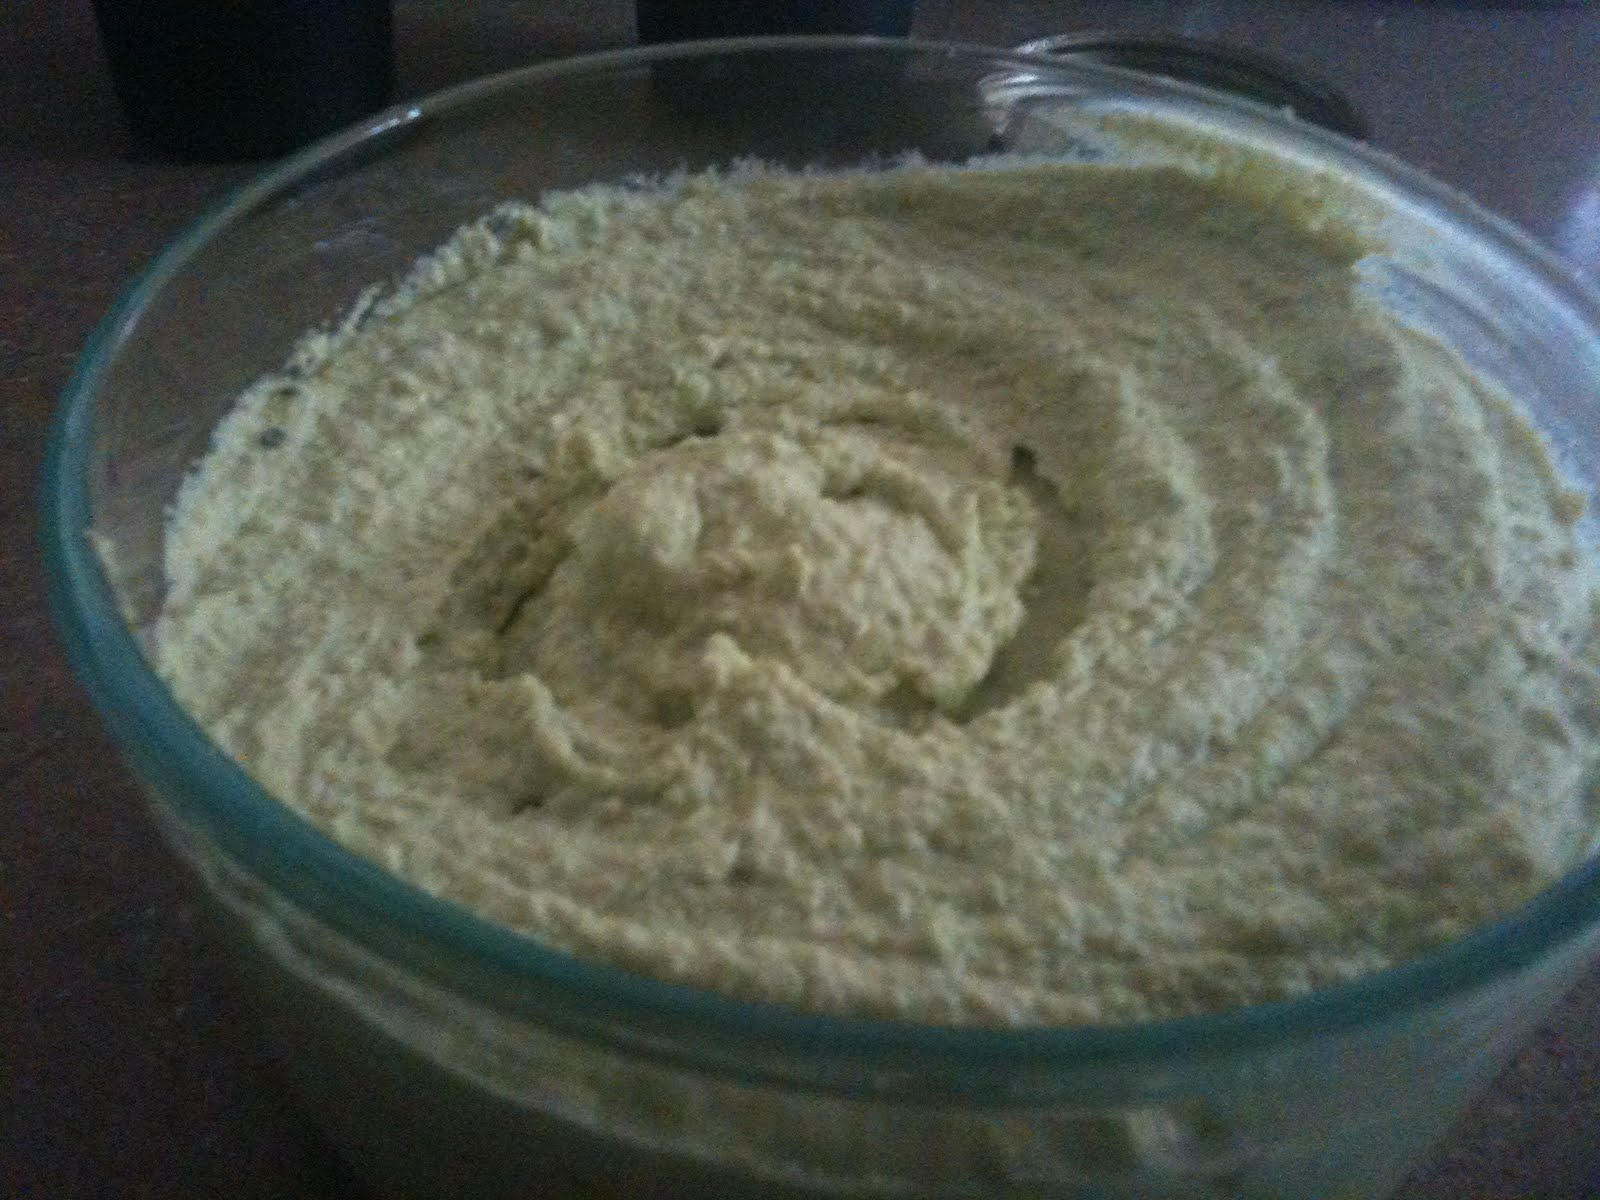
Just processed

Placed on the stove
Golden brown
Complete with tater-tots!
Yum and done!


Tuesday, November 15, 2011

Pesto Tomato Baguette


I made this on a whim the other evening and it was so tasty I had to post it. I used it as a supplement for a bit of asparagus ravioli we had. And it was amazing, super easy and could be scaled up or down depending on how many you are cooking for!
Ingredients:
• 1 mini or half baguette
• 1 tomato diced
• 4 tbsp pesto
• parmesan cheese (optional)
Directions:
Dice tomatoes and slice baguette in half
the baguette pre-sliced
Divide the pesto evenly and spread on both baguette halves
Pesto spread
Next add the tomatoes and if you like the cheese.
vegan option on the left and cheese on the right
In a toaster oven toast for about 6 minutes, if you are using a regular oven bake at 300 for about 5 to 6 minutes.

Here it is with the pasta!
Yum and done!


Sunday, November 6, 2011

Edamame Hummus

This is a new creation for me. Not my idea originally but I put my own spin on it. The regular chickpea hummus is getting kind of old so lets try to hummus other things. I think there is some white bean hummus out there somewhere. This edamame hummus it a tasty alternative, and it is such a vibrant bright green it is really beautiful in the bowl, although my photos don't do it justice.
Ingredients:
•28 ounces of edamame (in pod)
• 1/2 (aprox) tahini paste
• 1/3 (aprox) cup water (more or less depending on the constancy you want
• 3 to 4 cloves of garlic
• the juice on 1 lemon
• salt and pepper to taste
Directions:
Boil the edamame as stated on the package instructions, it is usually about six minutes or so.
here they are boiled and ready to be shucked

Next shuck the beans, there are pre-schucked beans out there but they are more expensive so I take the time and do it myself, plus they are great for the composter!

finally done shucking!
Next put the beans in a food processer, you could use a blender here but trust me a food processer works much better.
here they are in the food processer
when the beans looks pretty corse add the garlic and tahini mix well, add the lemon juice, mix again. After this set of mixing you can add the water, if you add to much your dip will be runny not enough it will be very thick, I found 1/3 cup gave me the desired results.
I was going for a thicker constancy
Next add salt and pepper to taste. I find it best to let the dip rest for at least an hour, but will stay fresh when in an air tight container in the fridge for up to 5 days!
Here it is ready to go to the fridge! I really enjoy pita chips with it!
Yum and done!


Thursday, November 3, 2011

Halloween 2011

We had our annual halloween party this past weekend. And we made a lot of food here is a rundown along with some pictures!

Various hand made chocolates, from chocolate covered pretzels to dioramas, even a white chocolate skull.
A peanut butter filled chocolate rat!
Bone shaped sugar cookies
edamame hummus (like regular hummus but made with edamame instead)
Dates, nuts and apples
French onion dip with a kick
Spinach artichoke dip
Cheese coins
A very strong tiki punch
and finally a skull cake!
the rat!
one of the chocolate dioramas
the sugar cookies with the white chocolate skull


the punch is back there, and it is strong!

the other side of the table

a wider shot of the table


straight on shot of the table

hey save that for the guests!

a couple closer shots of the cake!